
Well, I wanted to share this a couple days ago but it was a bit of a fail. Mostly because I didn't have the tools I thought I needed to complete this project. Three days later and I'm done.
I thought I would pop on over and share this one with you. It's super easy (well, it would have been had I had everything I needed) and total time is only a couple of hours from start to finish.
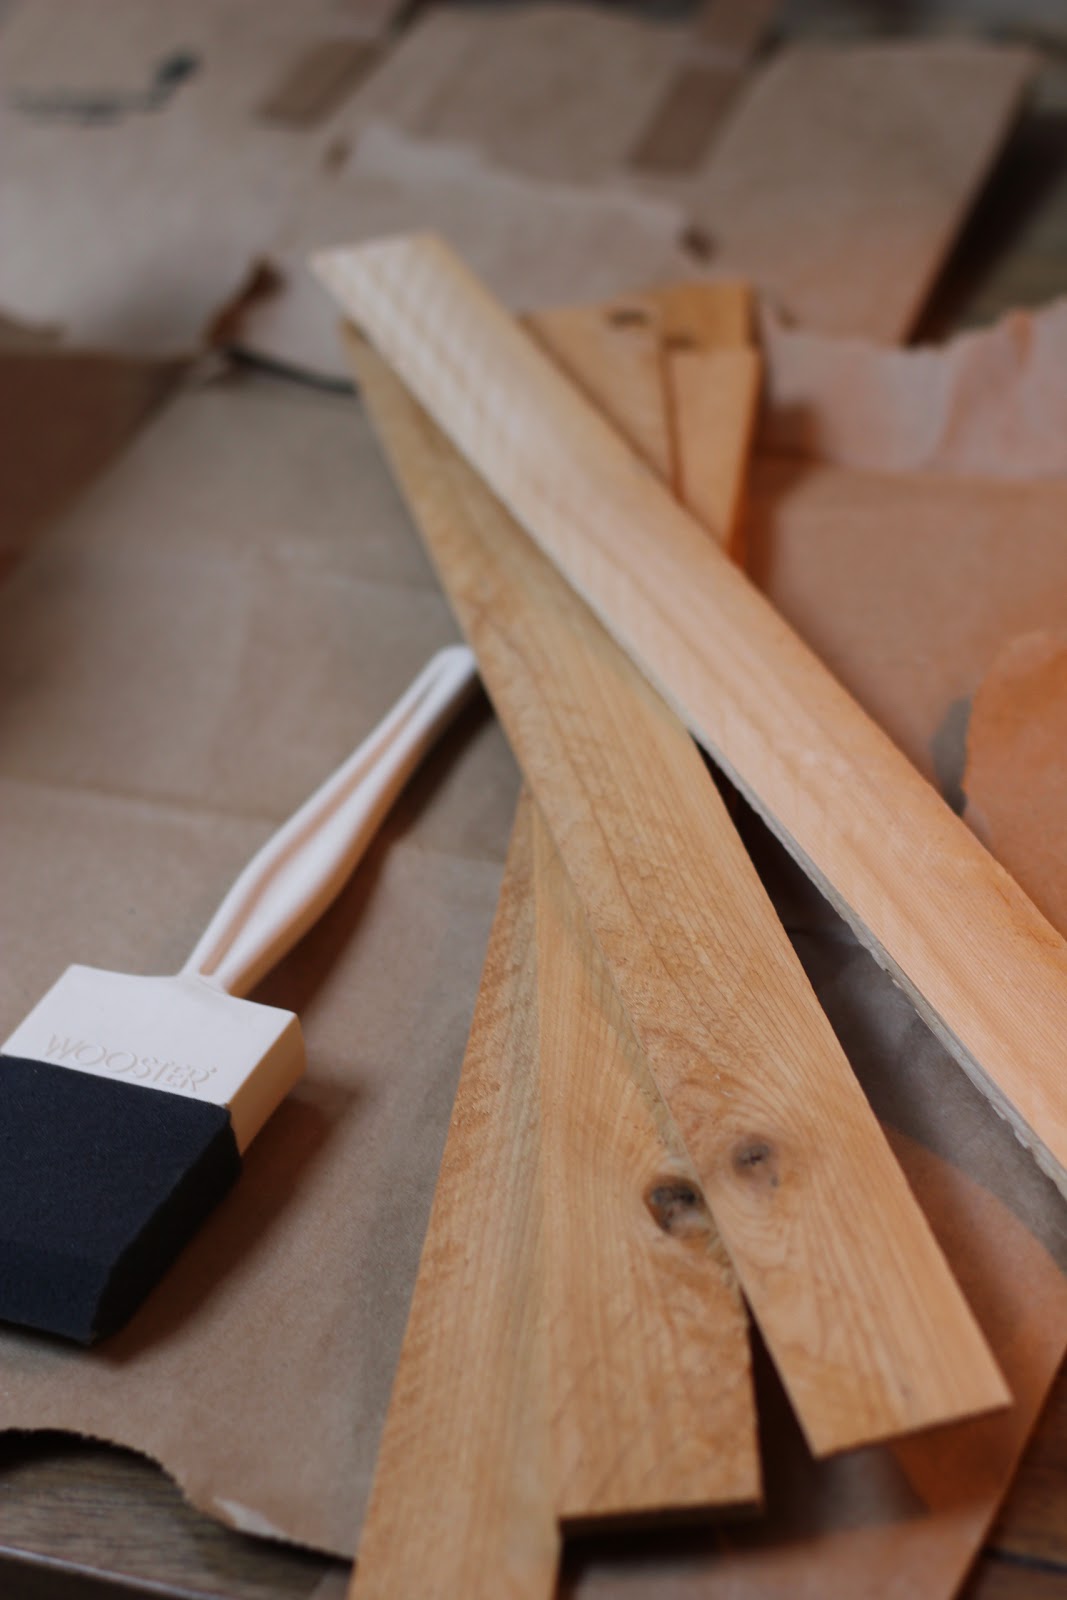
WHAT YOU NEED:
Stain of your choice (I used Varathane Sunbleached)
Package of wood shims
Drum Lamp Shade or Frame only
Foam brush
Hot Glue Gun and Sticks
Sanding Pad (optional)
Light Kit (West Elm, Ikea, World Market)
Drop cloth or paper (to lay your shims on while staining)
If you will, please excuse my horrible pics. Some of these were taken at night and I just went with the bad lighting.
First, stain your shims. I used the Varathane brand in Driftwood. You can sand the shims before or after staining. I chose to leave mine in their natural state.
You see in the pic below that I'd also taken out my Rustoleum stain. The Varathane actually took less time to dry and saturated better so I went with it in the end.

  |
| Pre-stained images |
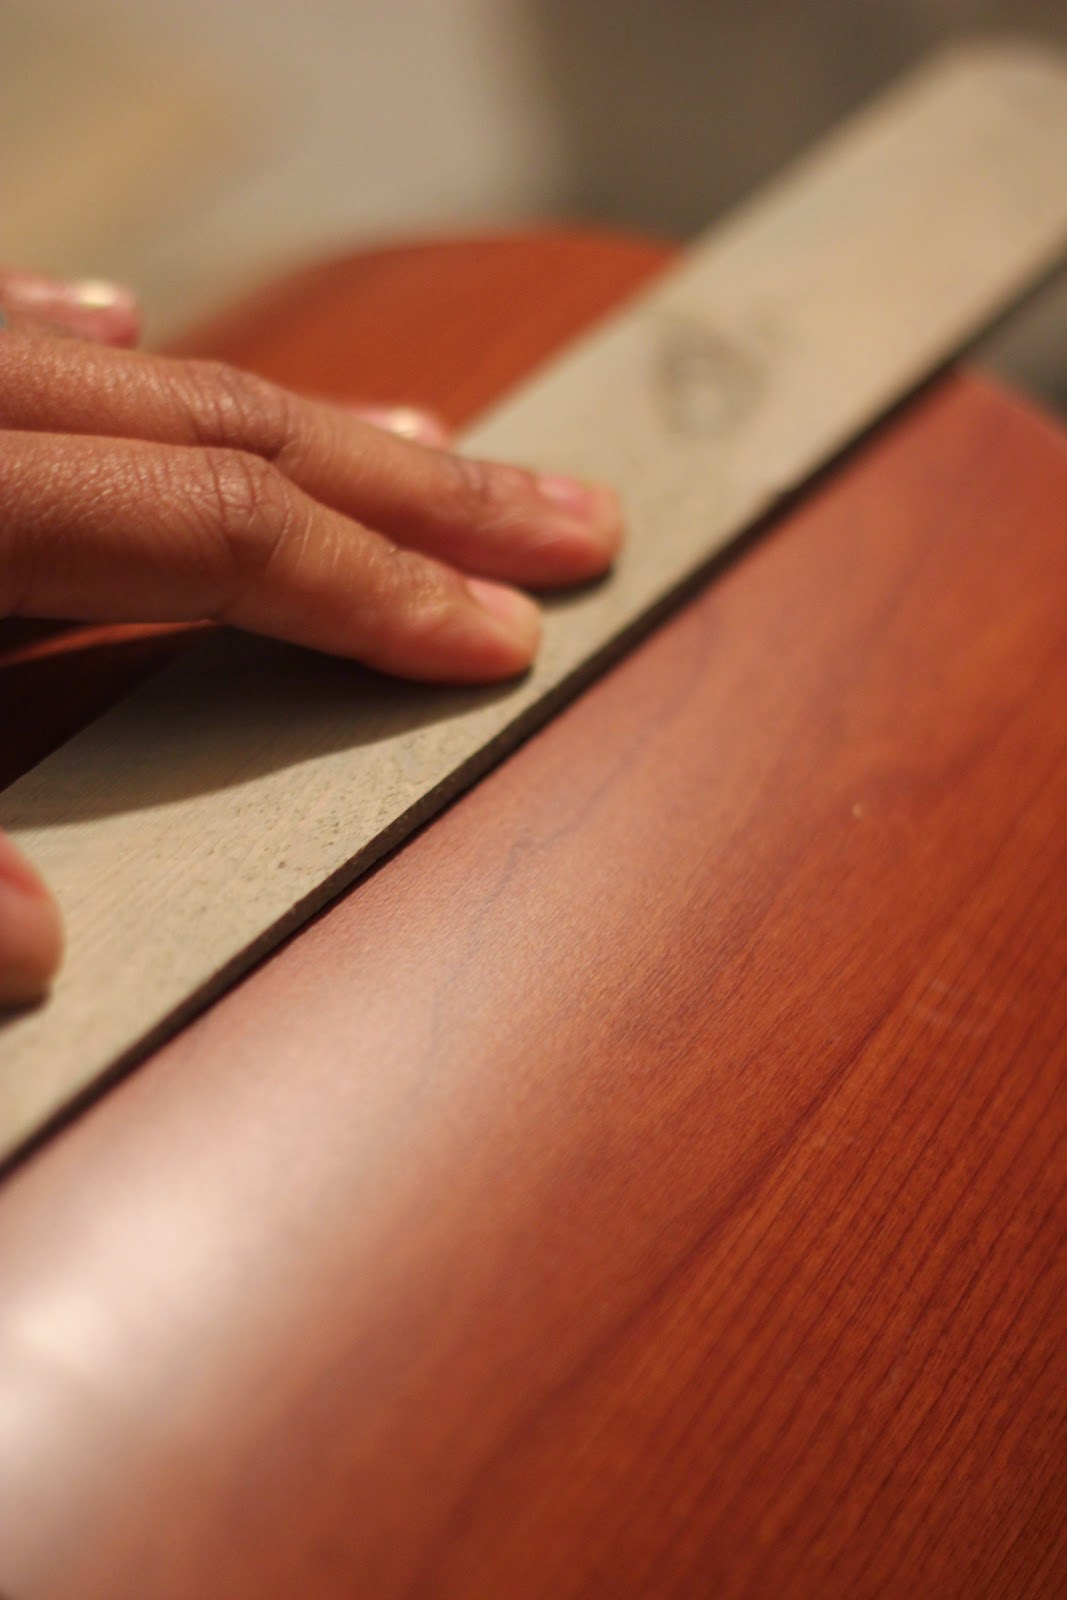
Next, after brushing on your stain and letting them dry (the Varathane takes about 30-45 mins to completely dry) then line up your shims as you want to have them laid out on your lampshade.
Now, this can be quite the tricky part and this is also the reason I suggest a DRUM style shade and not a BELL style shade. Unless you are layering the shims, you DO NOT want to use a tapered shade. Trust me on this one. Unless you're really good at math and have a ton of time on your hands.
Otherwise, just trust me. Use a drum shade. Okay? Okay.
Now, once you have them lined up, you can begin gluing with your hot glue gun.
When beginning the hot glue process I actually used blue painter's tape to hold my shims in place until I was ready to glue each one. This was partly because I wanted to be sure that all of my shims fit perfectly onto my shade before gluing them all on.
A bit of a disclaimer...some of my shims didn't exactly line up perfectly at the end of it all but I was totally okay with that. If you're an extreme Type A, then just take the time to measure out your shade and shims to get each one on just right.
I chose to only apply the glue at the top and bottom of the shade to salvage it just in case I needed a shade in the future and NEEDED to take this apart. What? You don't think that way?
I'd like to call it Creative Proactivity.
And yes...that IS a word.
|
| This is NOT the lampshade I ended up using. I did purchase this one from GW for only 3.99 but realized after I got home and after I measured it...that it was NOT a drum shade! Ah! |
At this point, you're gluing away. Be sure you are not just haphazardly attaching the shims to the shade but that you are lining them up as best you can. Toward the end I left very small spaces between a few just to help them all line up properly.
And these are the results...
Total cost for this project: $20.00
I only had to purchase shims and the light kit.
I really am in love with the way it turned out, while not perfect, I love the rustic yet modern look the Sunbleached stain combined with the size and shape of the shims provide.
I didn't show it hanging in a room because I am honestly not even sure where I will use it or if I will even use it in this house at all as we move in just a couple of months!
Lots more projects to share and hope you will be inspired by this project to try this or something creative of your own!
Hope you guys are having the most wonderful Saturday...ever!
XO,


Kennesha, this is WAY COOL! Love how it turned out!! Great job. Do you use a certain type of hot glue gun? I've never had luck with them and I would think that the shims would start popping off if they got warm. I've heard there are different types of glue guns, maybe I just have the cheap ones.
ReplyDeleteHey Shelly! Miss you friend! Thanks so much for stopping by and letting me see your sweet face and thanks for the kind words!
ReplyDeleteI just used a cheapee glue gun I purchased from our local Ben Franklin a couple of years back, nothing special. I've never had issues with them in the past. E6000 would probably work great as well and using a low wattage bulb should keep the heat to a minimum! XO
Looks great, Kennesha! I love the color stain you chose. Congrats on doing it yourself.
ReplyDeleteThanks Brandi!!
Deleteabercrombie and fitch
ReplyDeletemoncler outlet
christian louboutin,louboutin,louboutin outlet,louboutin outlet italia,scarpe louboutin
air max 2014
michael kors outlet online
ugg clearance
ugg boots sale
air max shoes
ray-ban sunglasses
true religion outlet
michael kors uk
coach outlet
new york giants
calvin klein outlet
nike roshe
air max 90
canada goose outelt
kansas city chiefs
1105MINKO
michael kors wallet sale
ReplyDeletelouis vuitton handbags outlet
nba jerseys
green bay packers
michael kors handbags sale
adidas outlet
the north face outlet
nike trainers
lebron shoes
cheap nike shoes
ralph lauren outlet
ghd uk
ugg boots
coach outlet store
louis vuitton outlet online
cheap jordan shoes
air jordan shoes for sale
swarovski outlet
mulberry uk
black friday 2015
1105MINKO
nike air max
ReplyDeletelouis vuitton handbags
ralph lauren polo outlet
jordan 13
ed hardy clothing
true religion outlet
michael kors outlet
michael kors outlet
adidas outlet store
michael kors bags
michael kors bags
michael kors outlet
ray ban sunglasses
kate spade handbags
hollister uk
toms
coach factory outlet
oakley outlet
louis vuitton handbags
kate spade
true religion
north face outlet
jordan shoes
nike free run 2
christian louboutin outlet
kobe 11
timberland boots
jordans for sale
louboutin pas cher
coach outlet
adidas superstar
christian louboutin
fitflops
toms shoes
lebron james shoes 13
louis vuitton outlet
louis vuitton outlet
ralph lauren sale
kate spade outlet
gucci outlet
20164.7wengdongdong